
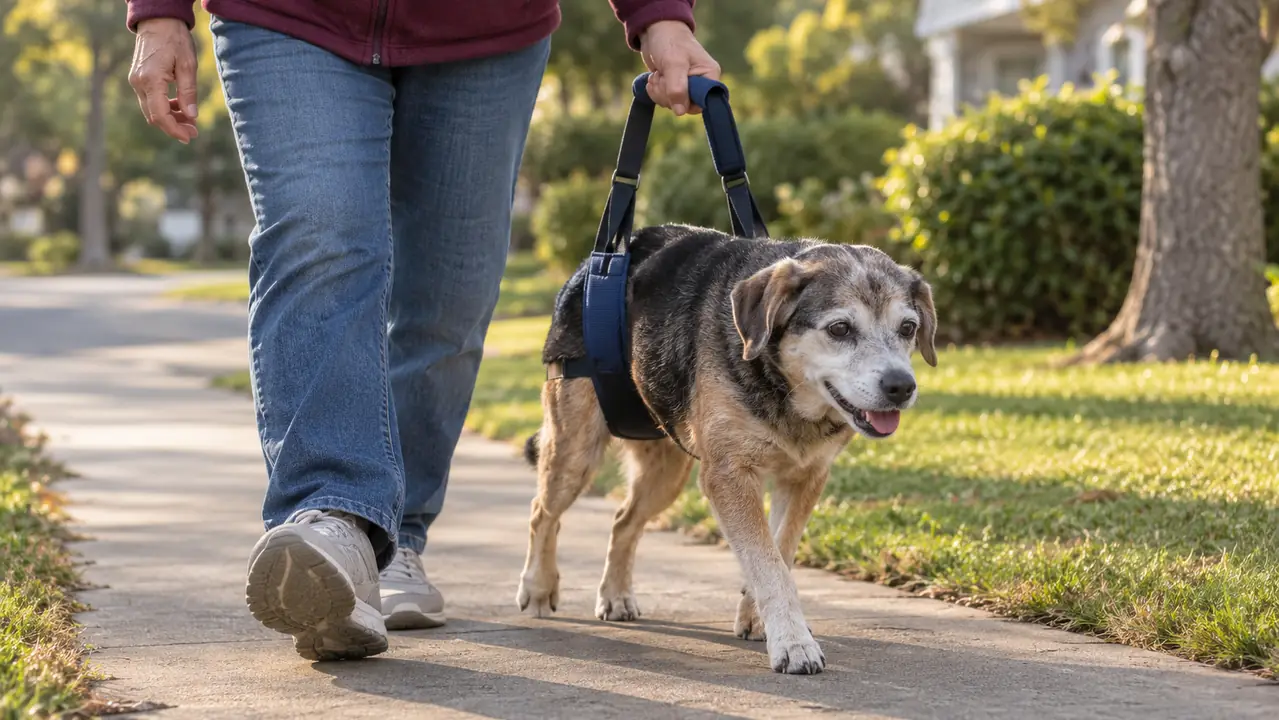
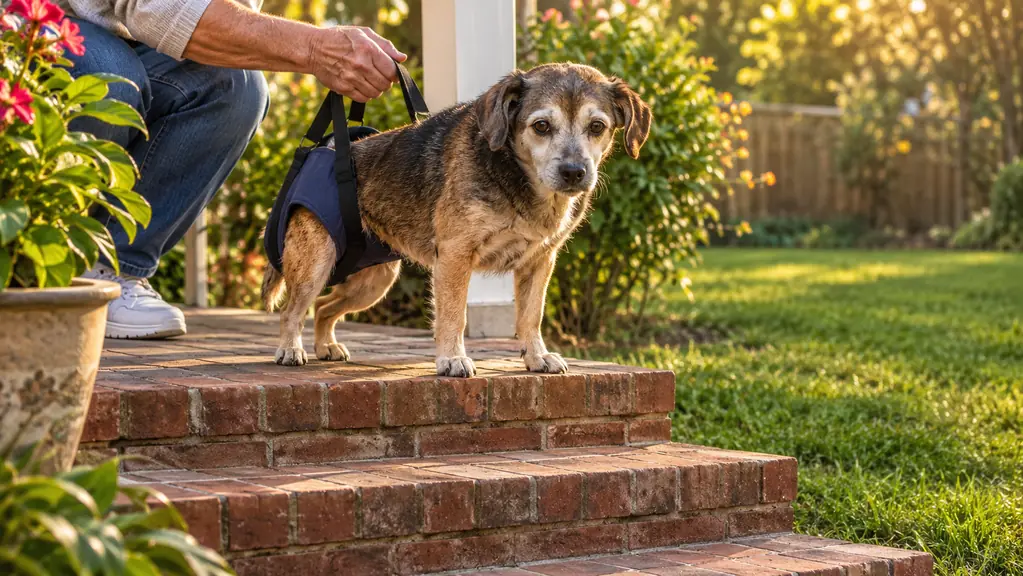
Pepper is eleven now, a twelve-pound miniature Dachshund who spent most of those years leading me around the block instead of the other way around. Last spring she started stopping at the top of the three brick steps that go down to our backyard. Not stumbling. Not yelping. Just stopping, and studying those steps the way I study a flight of stairs when my knee is acting up. A week later she quit jumping onto the couch. A week after that, our evening walk had shrunk to the end of the driveway and back.
If your small dog is doing something like that, you have probably already tried the first thing most of us try, which is carrying. I carried Pepper out to the grass for three weeks. It works, in the sense that she got outside. What it does not do is let her use her own legs, and a dog who stops using her back legs loses them faster than you would think. That is the point where a rear lift harness earns its place by the door. Ours is the PICK FOR LIFE adjustable dog lift harness, and the five steps below are the routine we built around it, in the order I actually did them.
A sling, a handle, and 4.8 ounces in a bag by the door
Rear end support sized for small dogs, padded handles for your hand, machine washable when it gets hairy. Adjustable, simple, and quiet enough that the dog stops arguing with it after a few days.
Amazon Check Today's Price on Amazon →What a Rear Lift Harness Does, and What It Does Not
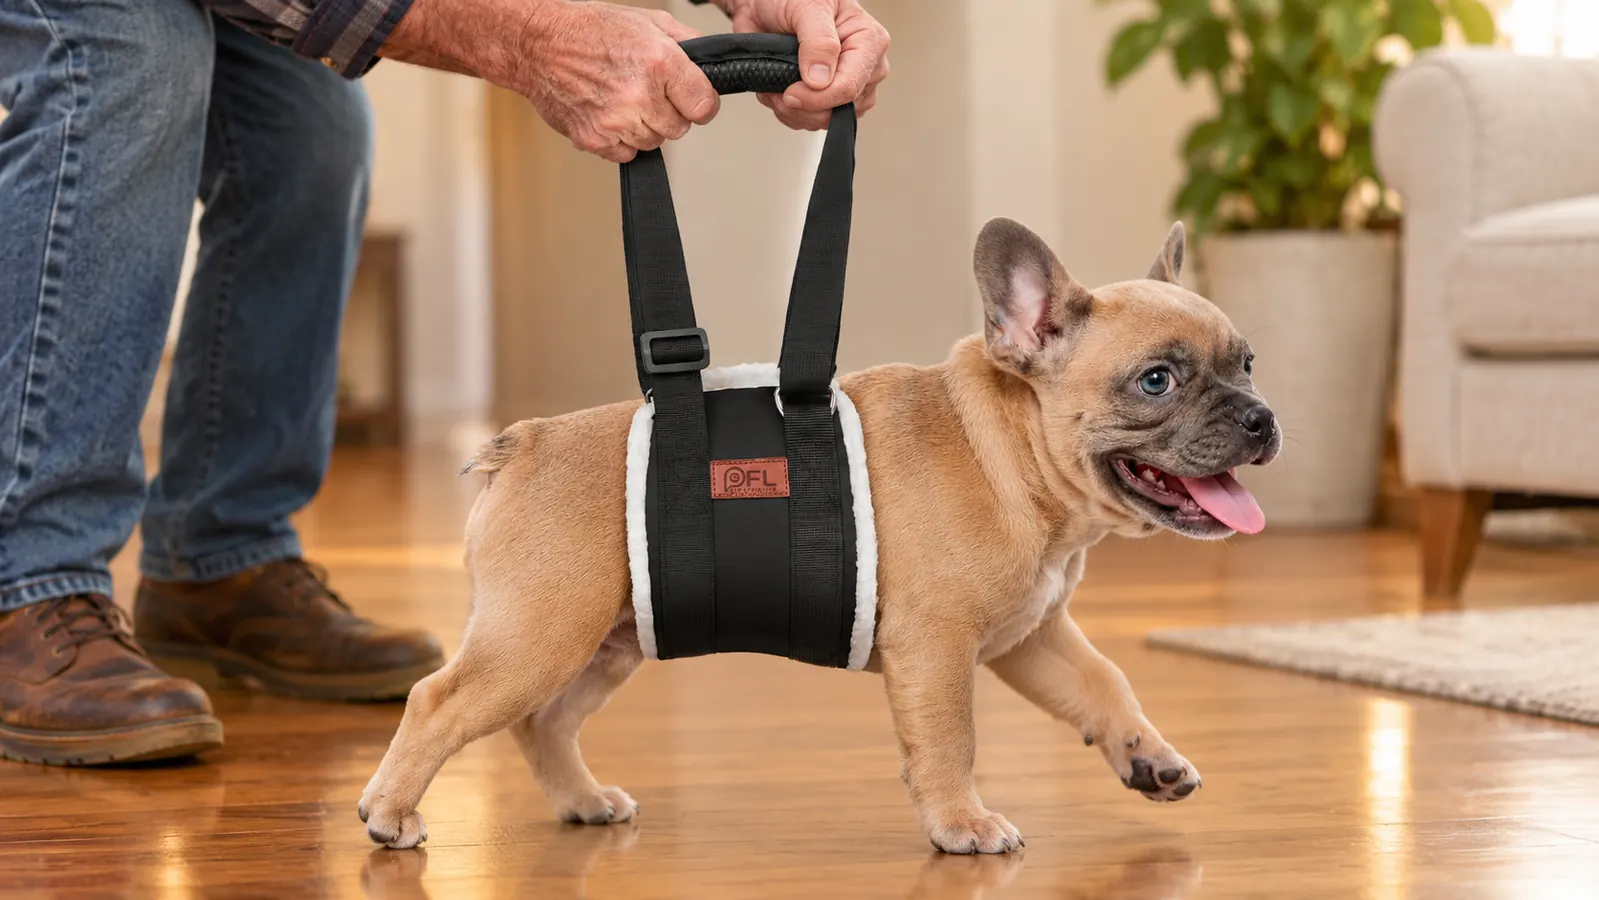
The PICK FOR LIFE harness is a nylon sling with a drawstring adjustment and a handle above it. You set the sling under your dog's rear, take the handle in one hand, and let your arm carry a share of the weight her hips used to carry alone. It weighs 4.8 ounces, so it folds into the little storage bag that comes with it and rides in the console of my Buick without me knowing it is there. There is a user guide in the box, and it is worth the four minutes.
What it does not do is heal anything. It will not rebuild a joint, it will not replace the vet, and it will not make your dog want to walk. What it does is give you a way to let her keep walking while the other things you are doing have time to work. That distinction matters. I have watched people buy a strap, expect a cure, and quit on it inside a week. The strap is not the cure. The strap is how you get to the work.
Step 1: Get a Diagnosis Before You Buy Anything
I am a retired service manager, not a veterinarian, and the first thing I will tell you is to take your dog in. Our vet watched Pepper walk down the hallway, ran her hands along her back and hips, and gave what was going on a name. I am not going to hand you that name, because your dog's version may be something else entirely and I would be guessing about your dog's health from my kitchen table. Get your own name for it first.
On the same visit, have the vet or the tech show you exactly where the sling should sit. That demonstration is worth more than anything I can write here. Where you place the sling changes how much help your dog gets and where the pressure lands. A technician will show you in thirty seconds what would take you three weeks of guessing. Ask her to watch you put it on and correct you, then write down what she says on the storage bag, because you will forget.
Step 2: Fit It on a Good Day, Not a Bad One
Do not wait for a morning when she cannot get up. Fit the PICK FOR LIFE harness on a normal day, in the living room, on the hardwood, with the back door closed and nothing on the schedule. Set the sling where the vet showed you and snug the drawstring so it stays put when she moves, but not so tight that it leaves a mark.
Sizing is where most people get this wrong, judging by the reviews on the listing. Measure around the widest part of her hindquarters with a soft tape and write the number down, then check it against the size chart before you order. A harness that is too big slides forward and stops supporting anything. One that is too small pinches, and she will tell you in the only way she has, which is refusing to move.
Then let her stand. Not walk, stand. Feed her a couple of treats and rest your hand on the handle without lifting. Your dog needs to learn that the thing around her middle is not a correction and not a vet visit. We did this twice a day for three days before Pepper stopped looking back at me suspiciously every time I reached for it. The padded handles matter more later, on a longer walk, but a quiet five minutes on the rug is where the trust gets built.
Step 3: Take Part of the Weight, Not All of It
Here is the mistake I made for the first week. I lifted too much. Pepper's back feet would leave the floor and swing, and she would look at me like I had insulted her. Your job is maybe a third of the weight, enough to take the jolt out of each step and not enough to do the walking for her. The feet should stay on the ground, on their own, at their own speed.
Walk beside her and a half step behind. Handle in the hand nearest her rear, leash in the other, arm relaxed, back straight, and bend at the knees when you set her down, because at sixty-six I cannot afford to be laid up and neither can the dog. When she stops, you stop. Give her five seconds. If she starts again, good. The handle is padded so a fifteen-minute walk does not chew up your palm, which sounds like a small thing on paper and is not a small thing by Thursday.
Corners and doorways are where you will both get clumsy. Go through the door first and bring her through on your side, so the handle stays between you and the frame instead of catching on it. On a turn, slow down before you get there and let her set the arc. If she likes to stop and smell one particular shrub for two minutes, let her, because standing and sniffing is still standing on her own four feet, which is the whole point of the exercise.
Step 4: Build the Walk in Short Stages
Week one, the driveway and back. Week two, to the corner and back. Week three, the full block if she is asking for it. Two short walks beat one long one every time, and the morning and evening pair we already had turned out to be the best structure for this, because she knows the route and she knows when it ends.
Surfaces are the other half of it. We have hardwood in the living room, three brick steps down to the yard, and a sidewalk with a slope on the far end. On the steps down I stay on her downhill side and take a little weight, and on the way back up I take more, because up is harder on the hips. On the slick floor I let the harness do the work until she reaches the rug. More than six thousand owners have reviewed this harness and the complaints are mostly about sizing, so measure before you order.
Getting up off the floor is a separate job from walking, and it is the one that convinced me. Pepper could not get up from the hardwood without a scramble. With the sling under her rear and a steady hand, she stands in one motion and walks off. I still do not lift her onto the couch. She uses the ramp June set there or she stays down, and the harness is what gets her to the ramp.
Step 5: Write Down the Distance Every Day
I spent thirty years watching a service bay, and the thing I trust is a log, not a feeling. I keep an index card on the fridge with the date, how far we went, and one word for how she looked at the turnaround. Good, fair or rough. It takes ten seconds.
Two weeks of that card tells you more than any single morning will. A dog can have a bad Tuesday and be fine by Friday. A dog that has been fair for eleven days running is telling you something. Bring the card to your next vet visit. It is the difference between 'she seems a little slower' and an actual record. And if you see her stumbling more, refusing the walk outright, or getting sore to the touch, stop and call the vet before you change anything on your own.
What Else Helps
The harness is one piece, and the pieces that stack with it matter just as much. Keep her weight where the vet wants it, because every extra pound is a pound those hips carry up the steps. Put a runner down on the slick floor. June set a small ramp at the couch so Pepper can get up beside her without the jump, and it took about a week for the dog to decide it was furniture. Trim the nails on schedule, since a long nail changes how a dog stands. Warm her up with a slow lap of the living room before you head out the door.
What does not help is carrying her everywhere, and I say that as a man who did it for three weeks. It feels kind. It also means her back legs get no work at all. The other thing that does not help is buying three products in a month and judging all of them in a week. Give the PICK FOR LIFE harness a fair stretch of daily use, fourteen days at least, before you decide anything. Keep the storage bag where you can reach it, because the days you skip are usually the days you could not find it.
When to Stop and Call the Vet
I want to be plain about this. A lift harness is a help, not a treatment, and some things need the office sooner rather than later: a dog who suddenly cannot use her back legs at all, one who drags a foot and wears the top of the toes, one who yelps when you touch her back, or one who stops eating and drinking. Those are not harness problems. Make the call. Our vet has been good about squeezing Pepper in, and I would rather make a call that turns out to be nothing than wait a week to learn it was not nothing.
The harness did not give Pepper her legs back. It gave her a reason to keep using them, and that turned out to be the part that mattered.
Start with two weeks and a driveway
Measure her rear, set the sling where your vet showed you, and log the distance for fourteen days. That is enough to know whether it is helping.
Amazon Check Today's Price on Amazon →